Every car owner knows the sinking feeling of finding a fresh deep scratch on a glossy panel. The first thought is to book a body shop and pay a steep bill to repaint the whole part. Modern spot-repair methods, though, can restore the finish in a garage. The secret is sticking to cascade sanding and carefully leveling the paint film.
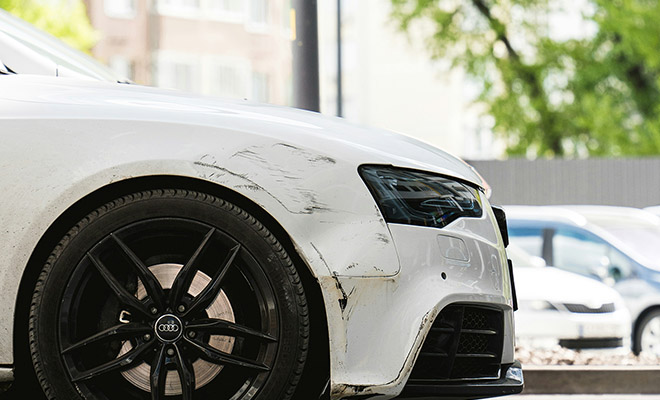
How to remove a scratch from a car: a simple way to restore the finish without a workshop
You will need a basic repair kit: a scratch-filler compound (or repair enamel with clear coat), a heat gun, a scraper blade, sandpaper or discs from 1500 to 3000 grit, a polisher, and polish paste.
First clean-up of the repair zone
Before you fill the damage, lightly smooth the scratch edges so the repair material bonds firmly and evenly. Start with local sanding of the damaged area using fine 2000-grit abrasive. That removes burrs in the old clear coat and prepares the surface for adhesion.
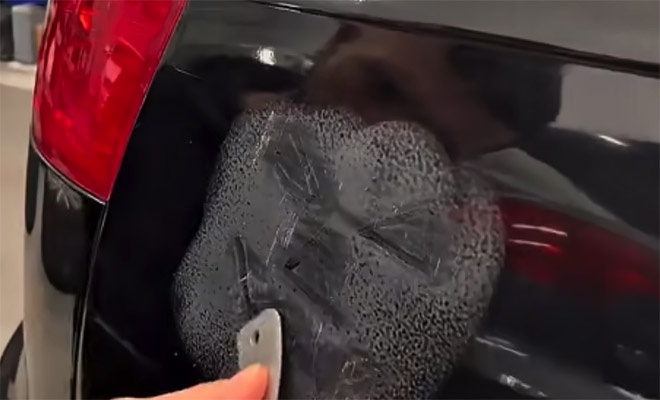
Filling the defect and heat curing
After cleaning and degreasing, apply a restorative polymer compound or automotive clear coat into the scratch. To help the material harden faster, fill micro-cracks, and gain strength, use heat: warm the repair zone with a heat gun to speed polymerization.
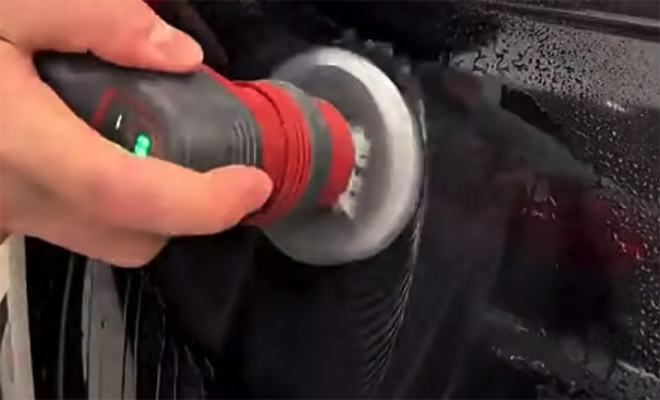
Shaving off excess compound
Once the clear coat or polymer has fully cured, a small ridge of excess material will sit on the surface. Level it flush with the factory paint film. With a thin scraper blade, carefully shave off every high spot. Keep the tool at a minimal angle to the body so you do not cut into the surrounding factory clear.
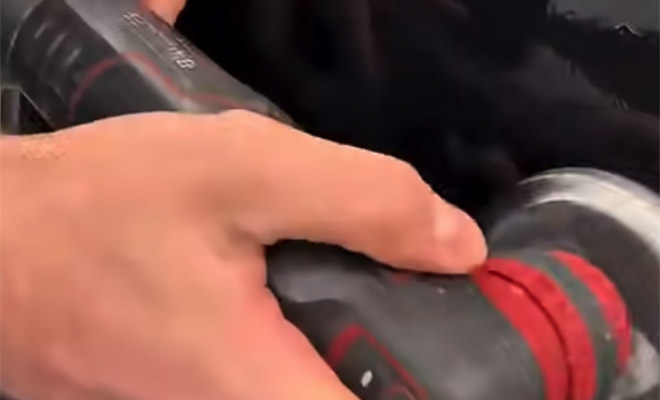
Cascade wet sanding
Next comes the final blending of the repair edges. To make the transition between old and new coating invisible, sand in sequence with water (wet sanding):
- First work the surface with a 1500-grit disc to rough-blend the transitions.
- Then step up to 2000 grit so the matte sanding haze looks more even.
- Finish with 3000 grit to remove the finest scratches and ready the clear coat for gloss.
Final polishing
After sanding, the treated zone will look dull; that is normal. Final polishing restores deep gloss and clarity. A soft polishing pad with a medium- or fine-cut paste works well. After a couple of passes with the machine, the matte patch disappears.
If you worked without rushing and followed the steps, the former scratch should leave no trace at all.